How to Remove a Tick from a Dog or Cat
Written by: Richard Rowlands, Pet Health Expert
Ticks are gross. Ticks are nasty. And ticks are dangerous.
Small, parasitic arachnids, ticks can be as tiny as a tenth of an inch and are found across the country. Some species are active during weather as cold as 40°F (4°C) and pose a real threat to you and your pets that you need to take seriously.
If your pet does end up with a tick, there’s no need to panic. But it's important to remove the tick carefully as soon as you see it.
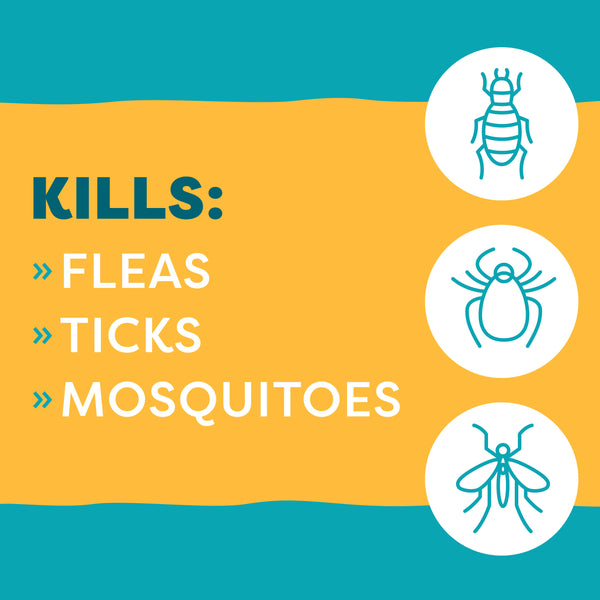
That’s because ticks will feed on their host and can easily spread diseases like Lyme disease, Rocky Mountain spotted fever, Anaplasmosis, Ehrlichiosis, and Babesiosis. After a tick attaches to its host, it immediately cuts open the skin and inserts a sometimes-barbed feeding tube so it can draw out blood. Certain species will even secrete a cement-like substance to keep themselves firmly attached.
If this sounds dire, it doesn’t have to be. In this post, we'll explain how to check your pet for ticks and how to remove a tick from a dog or cat safely, which will decrease the chances of infection and disease transmission.
How to Check Your Pet for Ticks
Any time your pet comes in from spending time outdoors during a season when ticks are active is a good time to perform a quick tick check. More thorough inspections are especially important if they’ve been in grassy or wooded areas, including those on your property.
It’s important to note here once again that ticks can pose a health risk to us humans as well, depending on the variety. It’s best to wear plastic or latex exam gloves when performing these checks to avoid getting a tick bite yourself.
Not all ticks will latch onto and burrow into your pet right away and instead may initially be caught in their fur as they search for the skin. A handy tip is using a comb with fine teeth or a lint roller. Pass them through or over your pet’s coat as soon as they come indoors in a non-carpeted area of your home. This will remove any ticks hanging out on or in their fur.
You can then continue by gently stroking your pet and running your fingers through their fur with gentle pressure. Here, you’re looking for any small or noticeable bumps or lumps that weren’t previously there. If you find one, focus in on that spot. If your search turns up nothing, keep going.
Lastly, perform a more thorough visual inspection, front-to-back and top-to-bottom of the main areas on your pet where ticks are generally found. These are typically places not protected by thick coats of fur such as:
- Around their face, notably near eyelids and on or inside ears
- Around their neck, including under their collar
- Under their front and rear legs
- Between their toes
- Between their back legs
- Around their tail
How to Remove a Tick from a Dog or Cat Safely
So, you’ve unfortunately found a tick on your beloved fur baby. Don’t panic! There are several ways to safely remove it. But first, let’s cover a few things you should NOT do in the process.
DON’T use heat or try to smother it with alcohol, petroleum jelly, or nail polish! Though these methods may eventually kill the tick, it will stay in way longer than necessary further risking disease transmission to your dog or cat. They’re outdated methods that aren’t effective and may cause more harm to your pet, especially that heat one! Yikes!
DON’T squeeze the body of the tick! This can actually cause the tick to regurgitate or release fluids from inside its body directly into your pet’s bloodstream. That will increase the risk of disease transmission and infection from all those nasties the tick is carrying around inside of it that make it such a threat, like bacteria, protozoa, and other microorganisms.
What exactly should you do then?
Start by getting the necessary tools together. You’ll need a pair of gloves to protect yourself, a pair of fine-tipped tweezers or better yet a special tick removal tool, rubbing alcohol or soapy water for disinfection, and a small glass jar that can be sealed.
You will also need someone to help you out to hold your fur kid while all this is going on if they’re the squirmy type as your pet needs to remain as still as possible during the removal process.
And here’s what you’ll want to do:
- Use your tweezers or tick removal tool to grasp or hook the tick firmly. Get as close to the tick’s head as possible.
- Pull upwards very gently and avoid any twisting or jerking motions. Going too quickly or making sudden movements can cause the head and mouth pieces to break off and remain in the skin.
- Once the tick is out, disinfect the area. Rubbing alcohol on a cotton pad is best but avoid this and use soapy water around the eyes and other sensitive areas.
- Put the tick into a small, glass jar equipped with a tight-fitting lid that’s been filled with either rubbing alcohol or soapy water. This will kill the tick and preserve it for identification if needed. You should keep it for about 3 weeks after the removal. This is for tick ID and testing by your vet should your pet develop any issues.
Monitor your dog or cat for 3 weeks after tick removal. If there is significant redness, swelling, or a rash around the tick removal area or there are any changes in your pet’s appetite, energy levels, or mobility, contact your vet immediately.
If the head of the tick remains imbedded in your pet’s skin, don’t panic. But also, don’t make any attempts to remove it by yourself. At this point you’ll want to make an appointment with your vet and have a professional take care of things as quickly as possible.
How to Protect Your Pet Against Ticks
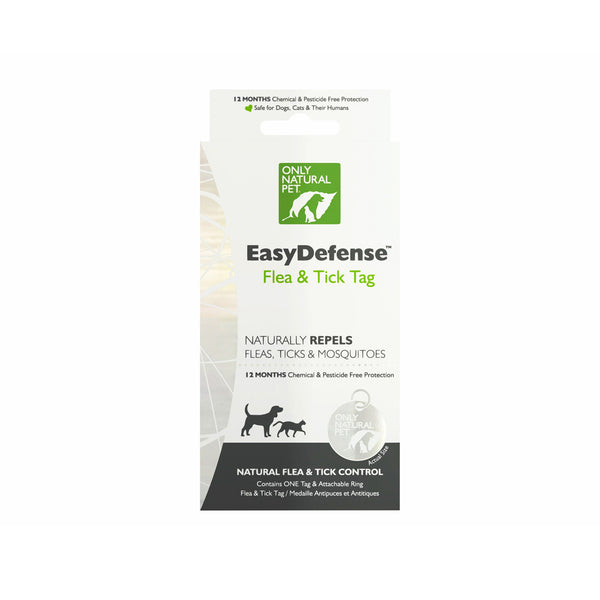
A good defense makes for the best offense, and using natural tick preventatives is a good way to go about ensuring you never need to remove a tick in the first place.
Squeeze-ons are easy to apply and there are many options without synthetic pesticides, ensuring natural, effective, long-term protection. Each treatment generally lasts about a month and can be applied to the skin between the shoulders. Just be sure to part their fur first so it’s getting to where it needs to! Start this method of treatment at the onset of tick season which varies depending on your geographic location.
Another simple option includes sprays that you can apply directly to your pet’s coat. They can be used in conjunction with squeeze-ons or on their own. These should be re-applied every two days or so. In addition to having a pleasant smell, their natural ingredients will keep ticks off your dog or cat from the start.
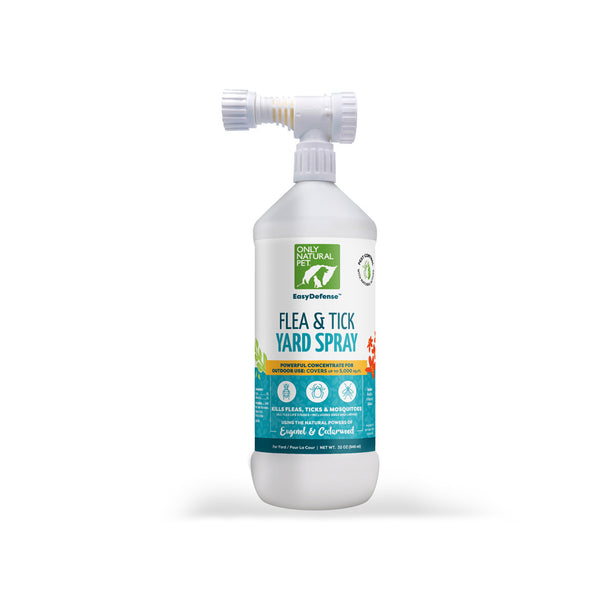
Another kind of spray you may come across are outdoor sprays, ideal if you suspect your dog or cat is picking up ticks on your property. It’s an effective solution for yards, turf, patios, and many other outdoor spaces. And again, they can be used in conjunction with the other methods we’ve already mentioned.
Final Words
Ticks, tick removal, and tick prevention are all serious business. But not an impossible task. Equip yourself with what you need to keep you and your fur babies safe during tick season by checking out our full line of tick preventatives.